Google Sheets를 사용하여 라이선스를 관리하는 시스템을 만들어드리겠습니다. 이 방식은 온라인으로 라이선스를 쉽게 관리할 수 있는 장점이 있습니다.

코드는 아래와 같습니다.
import gspread
from oauth2client.service_account import ServiceAccountCredentials
import hashlib
import uuid
import platform
import subprocess
import datetime
import json

class LicenseManager:
    def __init__(self, credentials_path, spreadsheet_name):
        """
        초기화 함수
        credentials_path: Google API 인증 JSON 파일 경로
        spreadsheet_name: Google 스프레드시트 이름
        """
        # Google Sheets API 인증
        scope = ['https://spreadsheets.google.com/feeds',
                'https://www.googleapis.com/auth/drive']
        credentials = ServiceAccountCredentials.from_json_keyfile_name(credentials_path, scope)
        self.client = gspread.authorize(credentials)

        # 스프레드시트 열기
        self.sheet = self.client.open(spreadsheet_name).sheet1

    def get_hardware_id(self):
        """시스템의 하드웨어 ID 생성"""
        # Windows의 경우
        if platform.system() == "Windows":
            cmd = 'wmic csproduct get uuid'
            uuid = subprocess.check_output(cmd, shell=True).decode()
            uuid = uuid.split('\n')[1].strip()
        # Mac의 경우
        elif platform.system() == "Darwin":
            cmd = 'ioreg -d2 -c IOPlatformExpertDevice | awk -F\" \'/IOPlatformUUID/{print $(NF-1)}\''
            uuid = subprocess.check_output(cmd, shell=True).decode().strip()
        # Linux의 경우
        else:
            cmd = 'dmidecode -s system-uuid'
            uuid = subprocess.check_output(cmd, shell=True).decode().strip()

        # CPU 정보 추가
        cpu_info = platform.processor()

        # 조합된 하드웨어 정보를 해시화
        combined = f"{uuid}:{cpu_info}"
        return hashlib.sha256(combined.encode()).hexdigest()

    def generate_license_key(self, user_email, duration_days=365):
        """새로운 라이선스 키 생성"""
        hardware_id = self.get_hardware_id()
        license_key = str(uuid.uuid4())
        expiration_date = (datetime.datetime.now() +
                          datetime.timedelta(days=duration_days)).strftime('%Y-%m-%d')

        # 스프레드시트에 데이터 추가
        self.sheet.append_row([
            user_email,
            hardware_id,
            license_key,
            expiration_date,
            datetime.datetime.now().strftime('%Y-%m-%d'),
            'active'
        ])

        return license_key

    def verify_license(self, license_key):
        """라이선스 키 확인"""
        try:
            # 현재 하드웨어 ID
            current_hardware_id = self.get_hardware_id()

            # 모든 라이선스 데이터 가져오기
            licenses = self.sheet.get_all_records()

            for license in licenses:
                if license['license_key'] == license_key:
                    # 상태 확인
                    if license['status'] != 'active':
                        return False, "비활성화된 라이선스입니다."

                    # 하드웨어 ID 확인
                    if license['hardware_id'] != current_hardware_id:
                        return False, "다른 컴퓨터에서 등록된 라이선스입니다."

                    # 만료일 확인
                    expiration_date = datetime.datetime.strptime(
                        license['expiration_date'],
                        '%Y-%m-%d'
                    )
                    if expiration_date < datetime.datetime.now():
                        return False, "만료된 라이선스입니다."

                    return True, "유효한 라이선스입니다."

            return False, "존재하지 않는 라이선스 키입니다."

        except Exception as e:
            return False, f"인증 확인 중 오류 발생: {str(e)}"

    def deactivate_license(self, license_key):
        """라이선스 비활성화"""
        try:
            licenses = self.sheet.get_all_records()
            for idx, license in enumerate(licenses, start=2):  # 헤더 row 고려
                if license['license_key'] == license_key:
                    self.sheet.update_cell(idx, 6, 'inactive')  # status 컬럼
                    return True, "라이선스가 비활성화되었습니다."
            return False, "라이선스를 찾을 수 없습니다."
        except Exception as e:
            return False, f"비활성화 중 오류 발생: {str(e)}"

def main():
    """사용 예시"""
    try:
        # 라이선스 매니저 초기화
        manager = LicenseManager(
            'your-credentials.json',  # Google API 인증 파일
            'License_Management'      # 스프레드시트 이름
        )

        # 1. 신규 라이선스 발급 (관리자용)
        # license_key = manager.generate_license_key("user@example.com")
        # print(f"생성된 라이선스 키: {license_key}")

        # 2. 라이선스 확인 (프로그램 실행 시)
        license_key = input("라이선스 키를 입력하세요: ")
        is_valid, message = manager.verify_license(license_key)

        if not is_valid:
            print(f"인증 실패: {message}")
            return

        print("프로그램을 시작합니다...")

    except Exception as e:
        print(f"오류 발생: {str(e)}")

if __name__ == "__main__":
    main()
시스템을 사용하기 위한 준비 사항
1. Google Sheets 설정
- 다음 컬럼으로 스프레드시트 생성:
* user_email
* hardware_id
* license_key
* expiration_date
* created_date
* status
2. Google API 설정
1) Google Cloud Console에서 프로젝트 생성
2) Google Sheets API 활성화
3) 서비스 계정 생성 및 인증 JSON 파일 다운로드
4) 스프레드시트에 서비스 계정 이메일 공유
3. 필요한 패키지 설치
pip install gspread oauth2client
시스템의 주요 기능:
1. 라이선스 생성
- 하드웨어 ID 생성 (CPU + 시스템 UUID)
- 유니크한 라이선스 키 생성
- Google Sheets에 정보 저장
2. 라이선스 검증
- 하드웨어 ID 검증
- 만료일 확인
- 라이선스 상태 확인
3. 라이선스 관리
- 스프레드시트를 통한 간편한 관리
- 라이선스 비활성화 기능
- 사용자 정보 및 만료일 관리
장점
1. 온라인으로 실시간 라이선스 관리 가능
2. 스프레드시트로 쉽게 관리 가능
3. 무료로 사용 가능
4. 자동으로 백업됨

Google Cloud Console에서 API 서비스 계정 생성
Google Cloud Console에서 서비스 계정을 생성하는 상세한 과정을 설명해드리겠습니다:
1. Google Cloud Console 접속
- https://console.cloud.google.com 접속
- 구글 계정으로 로그인
2. 프로젝트 생성
- 상단의 프로젝트 선택 드롭다운 클릭
- [새 프로젝트] 선택
- 프로젝트 이름 입력 (예: "LicenseManager")
- [만들기] 클릭
3. Google Sheets API 활성화
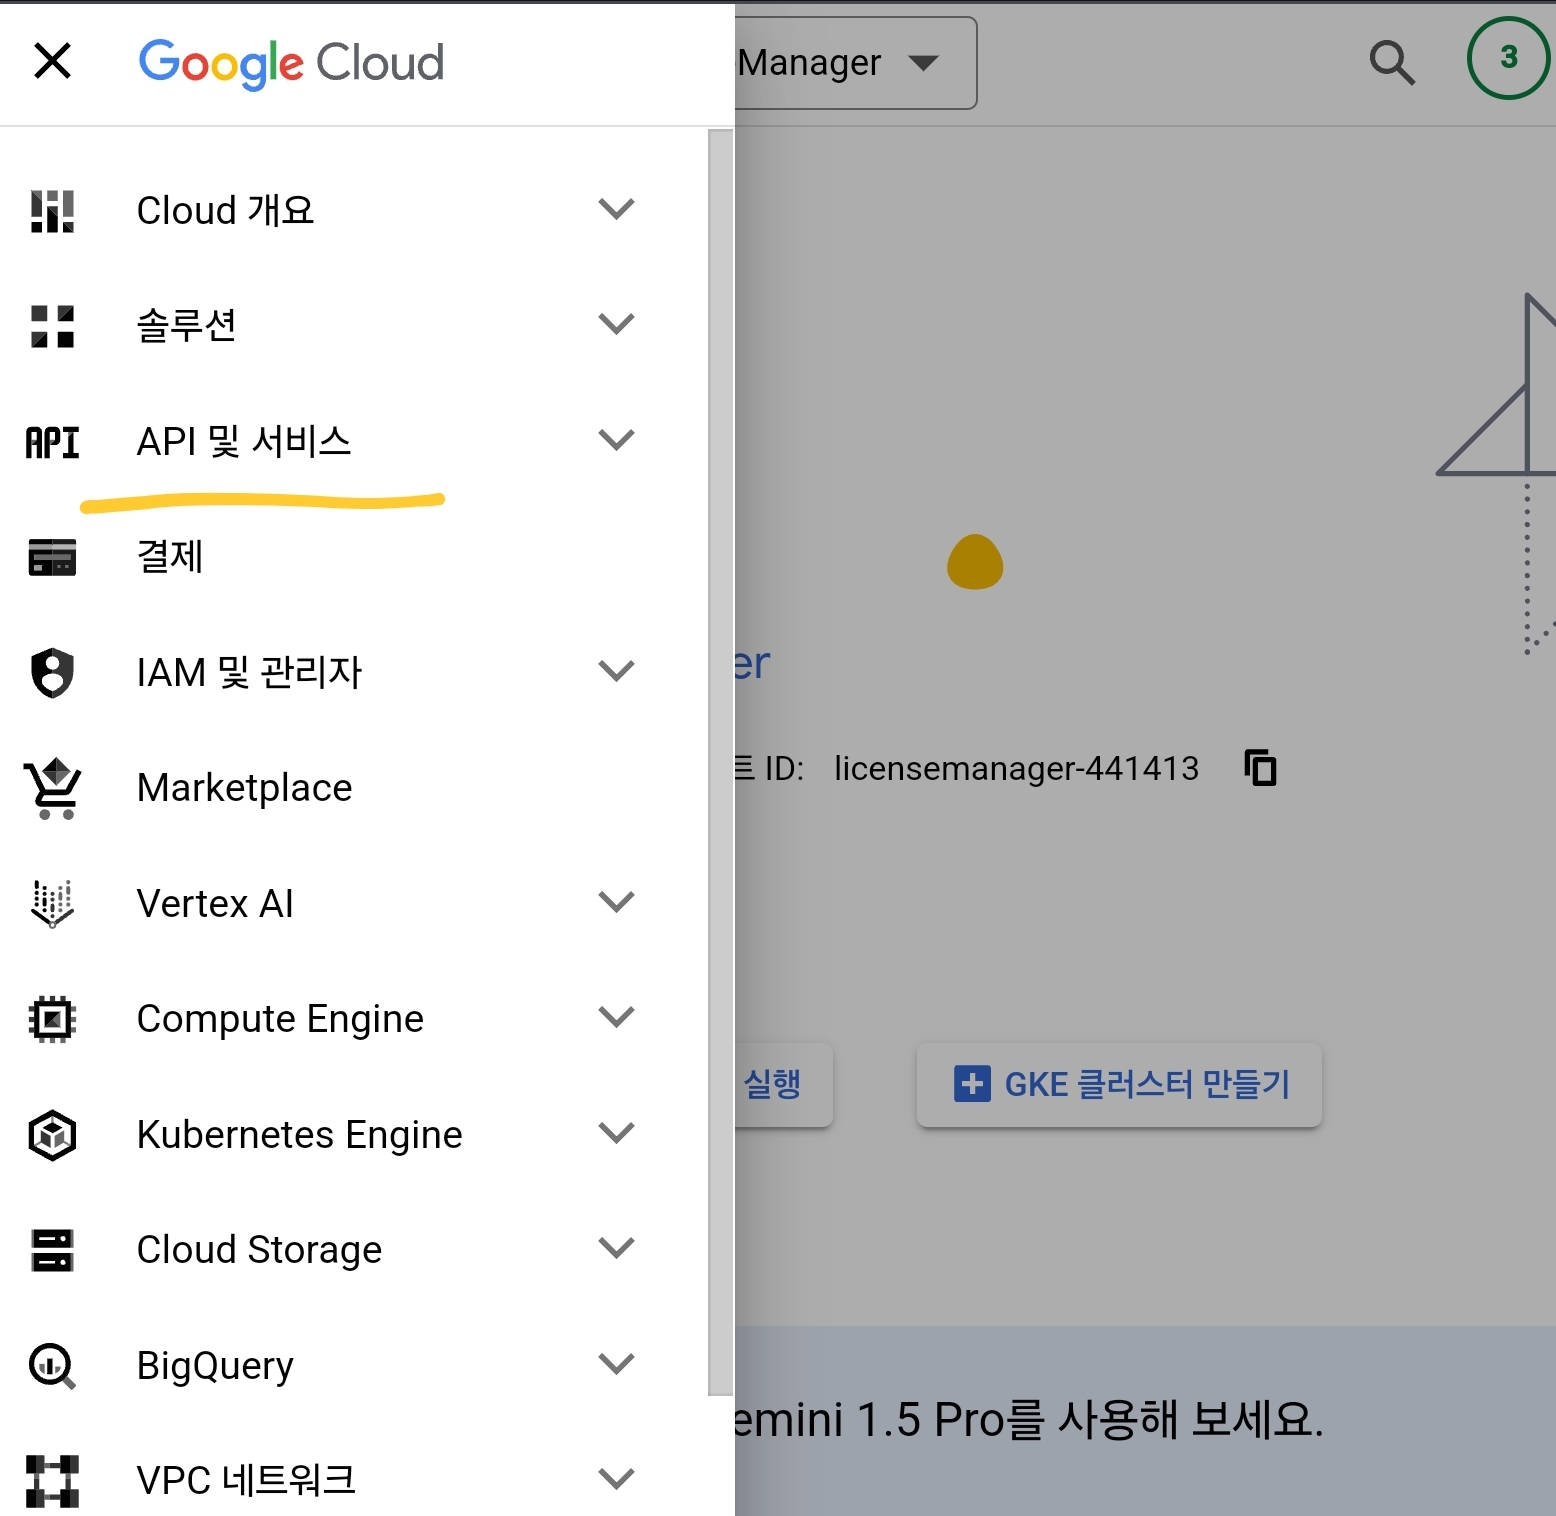
- 왼쪽 메뉴에서 [API 및 서비스] > [라이브러리] 선택
- 검색창에 "Google Sheets API" 입력
- Google Sheets API 선택 후 [사용] 버튼 클릭
4. 서비스 계정 생성
- 왼쪽 메뉴에서 [API 및 서비스] > [사용자 인증 정보] 선택
- 상단의 [사용자 인증 정보 만들기] 클릭
- [서비스 계정] 선택
서비스 계정 세부정보 입력:
- 서비스 계정 이름: "license-manager"
- 서비스 계정 ID: 자동생성 (또는 수정 가능)
- 서비스 계정 설명: "라이선스 관리용 서비스 계정"
5. 서비스 계정 권한 설정
- 역할 선택:
* [기본] > [편집자] 선택
- [계속] 클릭
6. 키 생성 (중요)
- 서비스 계정 목록에서 방금 만든 계정 선택
- [키] 탭 선택
- [키 추가] > [새 키 만들기] 클릭
- 키 유형: "JSON" 선택
- [만들기] 클릭
- JSON 키 파일이 자동으로 다운로드됨
7. Google Sheets 연동
- 새로운 Google Sheets 문서 생성
- 우측 상단의 [공유] 버튼 클릭
- JSON 파일의 `client_email` 값을 공유 대상으로 추가
- 권한을 "편집자"로 설정
- [보내기] 클릭

구글 콘솔 주의사항
1. JSON 키 파일은 절대 공개되면 안됨
2. .gitignore에 JSON 키 파일 추가
3. 프로덕션 환경에서는 환경변수나 보안 스토리지 사용
4. 서비스 계정 이메일 주소는 따로 보관
5. 주기적으로 키 로테이션 수행
구글 콘솔 추가 보안 설정
1. API 키 제한 설정
- 허용된 IP만 접근 가능하도록 제한
- 사용량 쿼터 설정
2. 서비스 계정 권한 최소화
3. 정기적인 접근 로그 모니터링
'코딩연습' 카테고리의 다른 글
| Claude API 사용하기, 방법, 사용 예제 정리 (2) | 2024.11.17 |
|---|---|
| 라이선스 인증 프로그램 (0) | 2024.11.13 |
| RAG(검색 증강 생성)? LLM 대규모 언어 모델의 한계를 넘어서다 (5) | 2024.11.05 |
| Zapier와 Make로 시작하는 실전 노코드 데이터 업무 자동화 (7) | 2024.11.05 |
| [24년 11월 3일] 오늘의 개발일기 (6) | 2024.11.03 |
